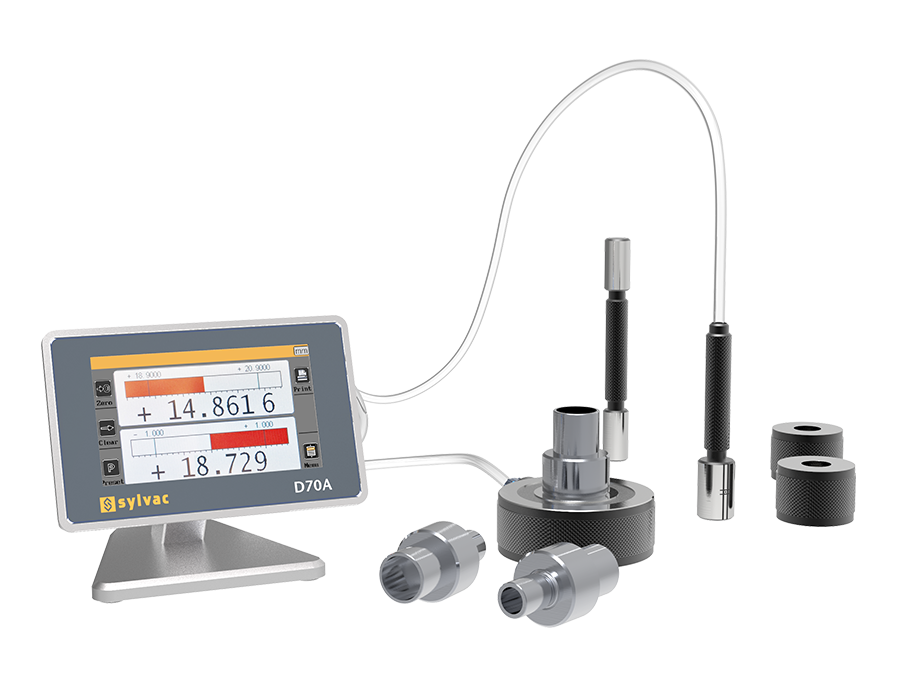
Main features of d70a:
● windows like interfaces (icons, sliders, windows, etc.)
● one or two input ports can be selected
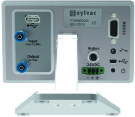
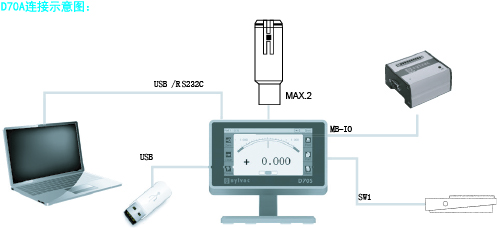
● MB - IO input interface
● digital or analog display
● plug in USB data import does not need to install driver and software
● the computer can supply power to the D70
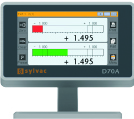
● single or dual display with graphic bar or pointer
● compatibility with Excel and SPC
● direct measurement or minimum, maximum, average
● programmable via PC
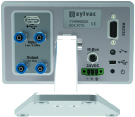
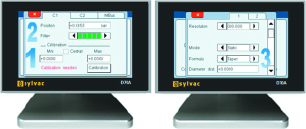
There are two calibration modes available:
2 (min / max) or 3 (min / nominal / max) standard gauges
The filter level (6 levels) can be set to reduce the refresh rate of the display, which is very useful for obtaining the stability of the last digit value
Taper can be measured with the help of customized pneumatic probe (the distance between air nozzles is known in advance)
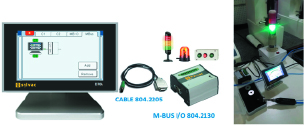
An MBus I / O module can be connected to d70a to realize 8-bit I / O automatic control output, and can be connected to three-color alarm lamp, alarm lamp or control box.
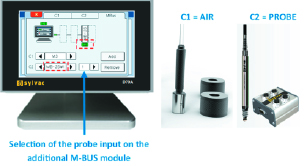
Another new function of D70 A2 is that it can combine pneumatic probe and electronic sensor. One channel is connected with pneumatic probe and the other channel is connected with M-BUS module + electronic sensor.
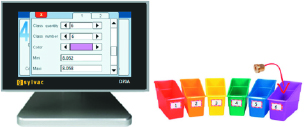
16 grades can be defined, and different colors can be matched for each grade to realize rapid workpiece classification
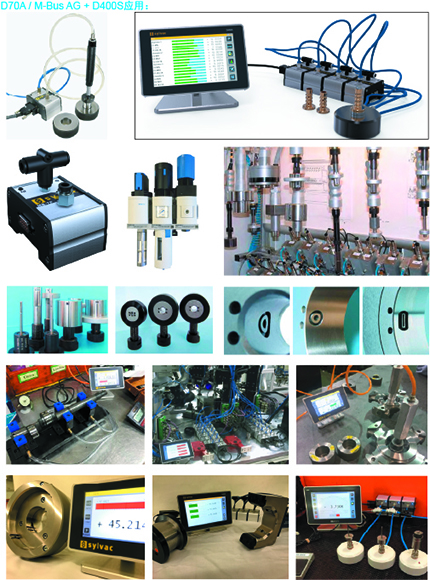
Pneumatic gauge is a non-contact measurement mode. It is a common detection means in automobile production. It is mainly used for the measurement of precision aperture and shaft diameter. It has the advantages of no wear, high precision, high efficiency and suitable for multi parameter measurement.
D70a can measure diameter. According to the needs of measurement, a special probe and auxiliary measuring tooling are designed and made to measure the parallelism and center distance of the center lines of the two holes of the connecting rod, the end face runout of the timing gear, the diameter of the cylinder hole, the thickness of the bearing bush, the small nozzle diameter of the carburetor nozzle, the piston pin, and the precision hole diameter and shaft diameter of the gearbox shell, blade and camshaft end. The measurement parameters of different types of pneumatic measuring tools include diameter, roundness, runout, distance, taper, straightness and other geometric parameters.
The jet nozzle of d70a pneumatic plug gauge has many different types. The selection of these types depends on the diameter of the measured workpiece, the surface structure of the measured workpiece, the measurement tolerance zone or the required measurement range.
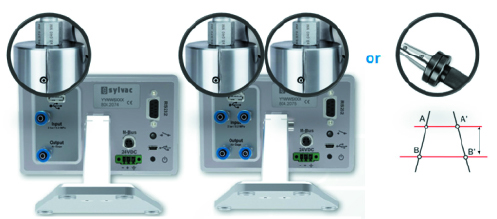
Dongding d70a flow type air momentum meter is easy to operate, economical and practical. It is a common inspection tool for batch manufacturing of production line or high-precision inspection room. The measurement response is fast and has self-cleaning ability, which can ensure the accuracy and repeatability of measurement on the workshop site. The air momentum meter with multiple resolutions and measurement ranges can be provided according to specific measurement requirements. It has a wide range of applications, such as nuclear energy, automobile, aviation, medical treatment, machining and so on.
