The size of electronic components such as plugs and connectors is getting smaller and smaller, which poses a greater challenge to the manufacturing industry. Erni electronics uses three-dimensional numerical control multi-sensor measuring equipment to ensure its manufacturing process, one of which is equipped with X-ray computed tomography technology. Modern measurement technology can quickly realize process verification.

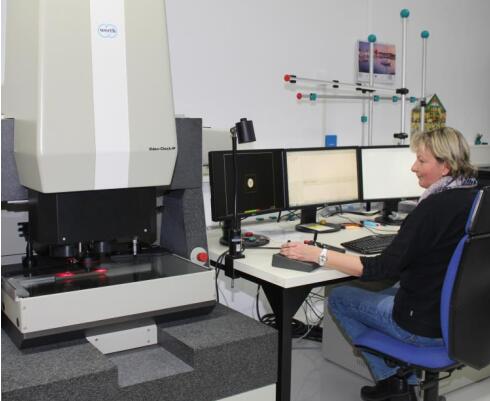
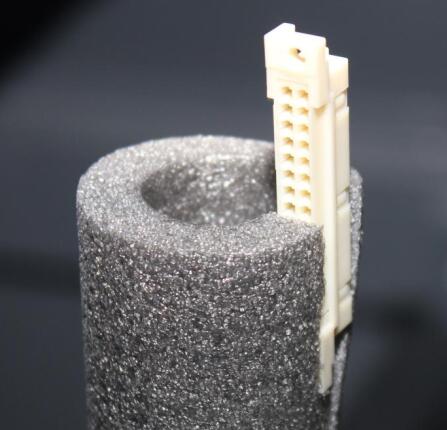
[future measurement] multi sensor system is the basis for realizing zero defect production. Erni electronics introduces 'zero defect production' 'Technology. The company produces a large number of various circuit board connectors and I / O plug connectors, backplanes, connectors, cables, housings, systems and tools in adelberg near Stuttgart. Many products enter the automotive industry through suppliers, where the installed components are required to have particularly high quality. Therefore, the supporting facilities of the quality assurance department are among the best. Under test In the measurement laboratory, in addition to various three-dimensional CNC multi-sensor measuring machines, There is also a CMM with X-ray computed tomography sensor. In order to enable workers to quickly check their work results, a composite CMM has been installed in the production workshop. Oliver jehlitschke, head of quality management department, explained: 'The automotive industry always wants to increase the packaging density of circuit boards. This means that we have to constantly develop smaller plug connectors. Therefore, we must constantly adjust the production and measurement conditions.' The long-term mentor and partner of his department is Werth. The company based in Gibson is an excellent supplier in the field of modern CMM. It specializes in the production of CMM with optical sensor and X-ray tomography technology, as well as composite CMM. As early as 1996, Erni introduced a compact device videocheck ip250 for optical measurement of plug connector, housing and perforated tape. Today, it has been replaced by a newer and more accurate measuring machine of the same type. For larger parts, Erni put videocheckfb fixed bridge measuring machine into use in 1999, and its measuring range is 400 × four hundred × 200mm。 It is equipped with telecentric optical lens, Werth fiber probe and traditional 3D trigger probe. Computed tomography technology makes CMM more perfect. A highlight of Erni measurement laboratory is Werth tomoscope, which has been put into use since 2008 ® HVCompact。 The CMM uses computer tomography technology to analyze or measure parts without contacting parts, and the measurement accuracy is micron level. Its working principle is as follows: firstly, the transmission image of the measurement object is taken at different rotation positions. Then, all single images are reconstructed by software to create a three-dimensional image to describe the internal and external geometry of the whole part. R ü diger Teufel, a measurement technician, explained: 'we use tomoscope ® Measure all empty housings and some assembly plugs containing male and female terminals. We can also use tomoscope for wire cutting and punching tape ® To measure. ' The main reason for investing in future technology is to win time for process manufacturing. The theoretical actual comparison of three-dimensional data generated by three-dimensional model and tomography technology is used to display the deviation between measured data and theoretical value through color coding. This can help to quickly confirm, for example, whether the plastic is correctly distributed in the mold during injection molding. According to the results, the mold and injection molding parameters can be optimized until the process requirements are met. Jehlitschke, head of the quality department, said: 'we require the shell and its supporting perforated belt to meet the process index CP = 1.67

[future metrology] multisensor system is the foundation for realizing zero defect production. The fixed bridge measuring machine is equipped with telecentric optical lens and a fiber probe and a traditional trigger probe. R digerTeufel and his colleagues use TomoScope. ® Carry out micron level high-precision measurement: 'for example, our first inspection of the shell is in tomoscope ® On. I can scan parts and get 3D geometric point cloud data for analysis in a few minutes. The internal dimensions of the part, such as the chamber, will also be measured. In the past, we had to cut, process and polish to get the cross-section. Now, we can get the cross-section image from the point cloud by pressing the button. This saves a lot of time. Secondly, the section position can be moved arbitrarily. ' [future measurement] multi sensor system is the basis for realizing zero defect production. Reliable coplanar measurement. In the first half of 2015, Erni measurement laboratory obtained another werthvideocheck ® S400 three-dimensional CNC multi-sensor measuring machine. It is equipped with new sensors, For example, color difference sensor (CFP) and area focus change sensor werth3d patch. Oliver jehlitschke explained the reason for the investment: 'the pad connecting the plug connector and the circuit board must be on a plane with small tolerance to prevent defects in the subsequent welding process. We judge whether it meets the standard by coplanar measurement of all welding points.' A particular challenge is that the pin protruding from the plug connector will be bent 90 ° after assembly. This means that the bending angle and pad position may be slightly different. Due to the deformation and shrinkage of the plastic shell, the longer the plug connector, the more difficult it is to avoid errors. At present, this measurement task is mainly used for quality assurance in manufacturing process. To this end, a measurement system in the production automation system uses a triangulation laser to measure the height. According to production needs, this method is fast, but its accuracy is far less than werthvideocheck ® Measuring machine, which provides reference measurement and higher process guarantee in the measurement laboratory. R ü diger Teufel explained, 'we are very interested in our new videocheck equipped with werth3d patch and CFP ® S400 has enough confidence. It has a new digital camera technology, werthhicam, which is the guarantee for the realization of contrast focusing method.

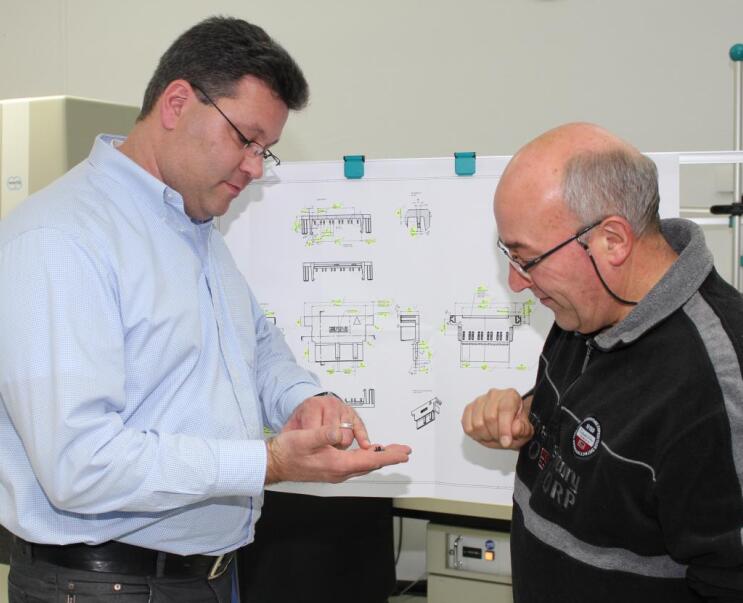
【[future measurement] multi sensor system is the basis for realizing zero defect production. Without special fixture, X-ray computed tomography CMM can measure various parts. Working principle of werth3d patch for surface topography measurement: only move the axis of the camera, similar to continuous photographing with auto focus. The contrast pixels in the image are calculated. The contrast in the image stack is defined as the measurement point, which is used to describe the surface of the three-dimensional part. Through the focus change method in the new application, the surface morphology can be measured in a larger dynamic range. The dark and bright areas of the same measurement object can be captured simultaneously under illumination to calculate the point cloud. Then, the high point of each pin can be determined. A contact surface is defined. This can simulate the positioning of parts before welding and the distance between pads. The color difference sensor provides another measurement method. This is a one-dimensional distance sensor. When the machining axis moves above the part, it can obtain the scanning line. Then, the point cloud is calculated and evaluated according to these scan lines. Due to its physical properties, this method is especially suitable for measuring smooth and reflective materials. Oliver jehlitschke explained that Erni chose Werth measurement technology many times: 'Firstly, Werth measuring machine can provide continuous high-precision measurement. My experience over the years can confirm this. Secondly, the technology brought by Werth to the market is always mature and reliable. Finally, we have a good working relationship, whether in service or application support, especially new technology. [future measurement] multi sensor system is the basis for realizing zero defect production. Oliver jehlitschke (left), head of Erni's quality management department, is discussing important detection features with R ü diger Teufel, an experienced measurement technician

