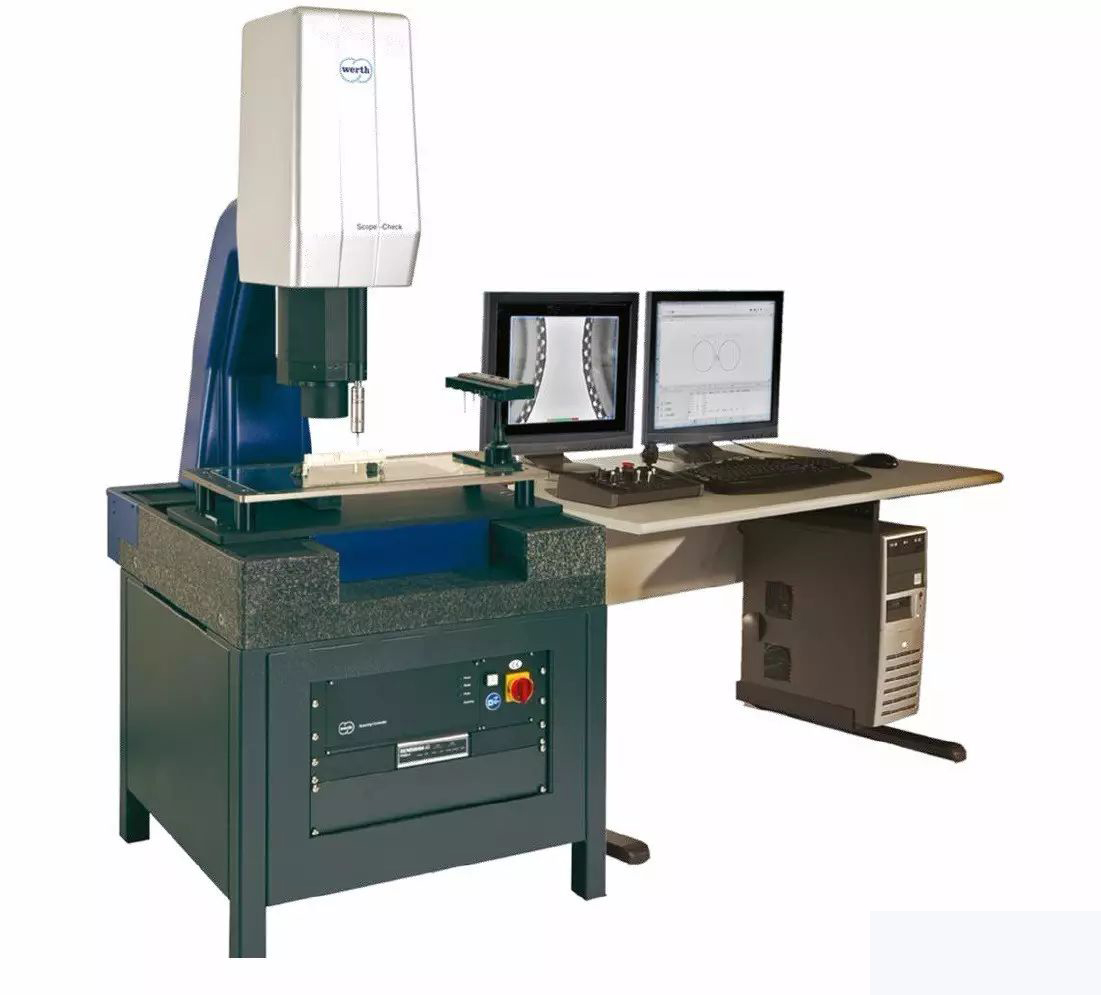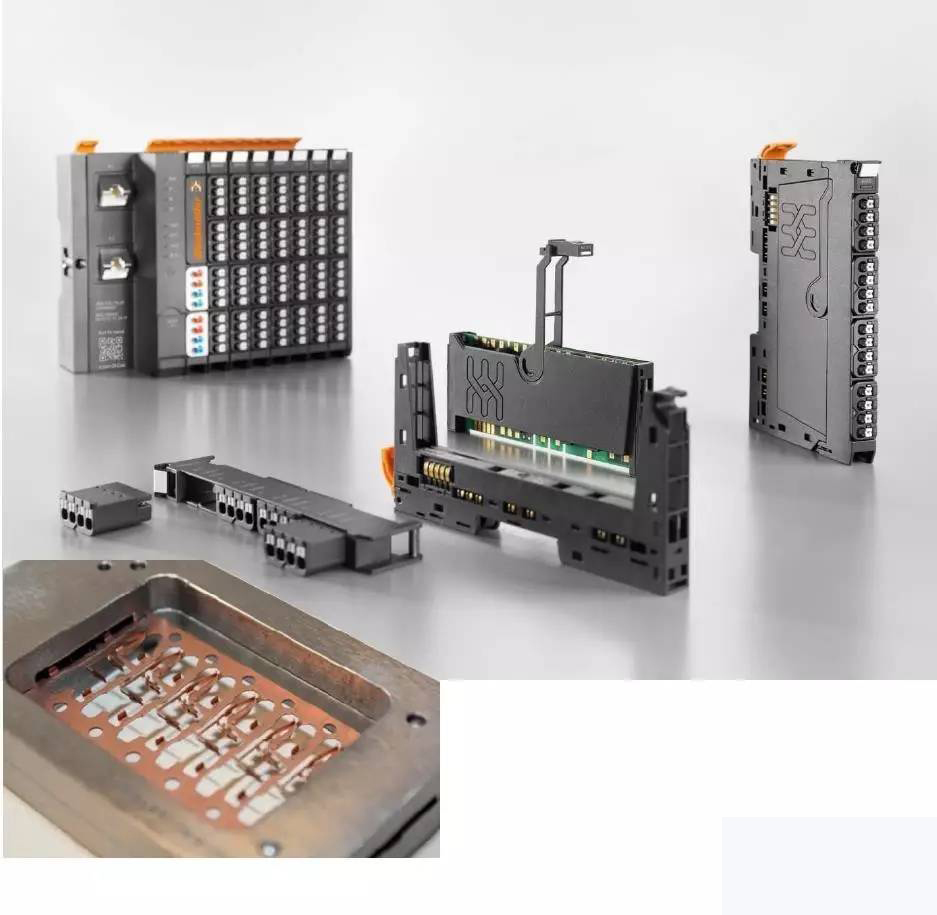
High quality connection - compound measurement scheme for industrial coupling - Weidmuller company, an industrial connection technical expert, wants to convert the manual detection of parts into automatic detection. For geometric measurement tasks and analysis, the enterprise recently formulated a set of standards based on German Werth compound CMM. This set of standards provides accurate and reproducible measurement data for the process from laboratory to mass production. Nowadays, no industrial branch can leave electronic technology and electronic connection technology (the so-called industrial connection) exists alone. Industrial connection technology transmits three basic elements for the industrial field: energy, signal and data. One of the suppliers in this field is the Weidmuller group headquartered in detemort. The connection is also one of the main demands of traditional enterprises. Therefore, it is necessary for Weidmuller to ensure a large degree of quality assurance Indispensable. From quality management according to ISO9000 standard to continuous monitoring through independent institutions. This kind of control not only supervises the production workshop, but also supervises the quality management and internal laboratories of the enterprise. Employees are the important foundation of high-quality products, which has long been deeply rooted in their awareness of quality. Olaf despang, manager of fixture management, explained: 'Weidmuller grew up on the road of ensuring quality. It is not only the metrology personnel, but all employees involved. Among them, my department is responsible for the structure of quality assurance quality management and providing measurement tools.' Seiko products and high-end components are a great challenge for measurement. Wertshcopecheck series machines have become the choice for such measurement tasks because of their high precision and suitable measurement methods. High quality connection - the composite measurement scheme for industrial coupling ensures the future measurement technology. Because the products are more and more complex and small, it is necessary to continuously monitor and optimize the production factors. Olaf despang has a working team responsible for this task: providing guaranteed measurement technology for the future of Weidmuller's plant design. 'Our structure is to set up a quality monitoring station in a single production area in addition to the laboratory of measurement technology. There, workers must be responsible for the inspection in the production process.' Olaf despang explained. 'At present, there are different measurement concepts and different detection instruments in each monitoring station. Now, our job is to unify them as much as possible.' In the future, the measurement department and production area will be compatible, so that the measurement procedures and fixtures used in prototype and pre production can be delivered to batch and assembly line production according to 1:1. Starting from many conversations with participants and corresponding investigations, common standards must be set for measuring instruments. In order to complete a variety of measurement tasks with quality and quantity, the person in charge chose to use the CMM technology with multi-sensor function. Weidmuller chose Werth Measurement Technology Co., Ltd. in Gibson as the partner of CMM. Before purchasing new measuring equipment, enterprises will conduct large-scale market research. All quality departments will participate in the formulation of the requirements specification and jointly determine the required function, accuracy and measurement range. Olaf despang concluded: 'we carefully investigated a number of suppliers and chose Werth. Our previous product use experience also has a great impact on this choice. Werth's videocheck measuring machine has been used in the measuring room in detemort for many years.' The high measurement accuracy of the machine solves the measurement problem of single parts and samples. Its global after-sales service is also important to us. In the future, if a machine is put into use in a foreign production base, the manufacturer must provide the same after-sales service as in Germany. In the past few months, Werth has delivered many scopecheck measuring machines to Weidmuller. They are placed in different quality monitoring stations not far from the production line. High quality connection - composite measurement scheme for industrial coupling picture: measuring the flatness of plastic plate. The detection time is shortened by two-thirds by using the laser sensor of the composite CMM. Scopechecks is a three-dimensional NC multi-sensor CMM specially used for the nearest production line. Its measurement ranges are x = 200300 or 400mm, y = 200mm and z = 200mm respectively. Weidmuller asked the machines to be equipped with three different sensors, namely Werth image processing sensor, laser sensor and contact measurement probe system. The laser sensor is intelligently integrated into the image processing optical path of the machine. This design does not lose the measurement range in joint measurement. Werth's zoom lens loaded with multi ring light source ensures the contrast of the picture. According to the requirements, the working distance can even be adjusted to measure the characteristics of deep depression without collision, or to produce a special flat light incidence angle. A compound CMM is placed in the quality monitoring station headed by Rosario orovero, the quality assurance manager of 'new products'. This department is specially responsible for the small batch production of innovative batches before the launch of new products. The first thing to pass the test is the components of Weidmuller's traditional connection technology, such as through junction box. Including those small and exquisite injection molded parts and stamping bending parts, their surface, radius and angle are difficult to measure. Mr. Rosario orovero described the development of advanced production technology as follows: 'In the past, our junction box was huge and had few functions. It was easy to measure the length, width and height. Now it needs to be stored in the small space of the switchboard as much as possible, and our products have been changed accordingly. Although the size of the current junction box is not much different from that in the past, its function is ten times that in the past. Its connector position is very small, and the traditional Contour projectors, measuring tables and other manual measuring instruments cannot achieve production control. Therefore, the new solution is to use optics, contact and laser to measure, which can only be realized by wertshcopecheck products at present. High quality connection - composite measurement scheme for industrial coupling picture: parts must be fixed during contact measurement to avoid displacement due to contact. The fixture will also be applied in mass production. The tolerance of fine parts is ± 0.02mm. This requires the accuracy of the measuring machine to be as high as 2 μ m. Rosario orovero confirmed: 'scopecheck meets the measurement accuracy requirements of our products. Werth's videocheck measurement product has more accurate measurement accuracy, but it is too accurate for the production workshop.' Shorter measurement time, compound CMM also shows its advantages in quality measurement tasks. For example, when measuring the flatness of large plastic plates. Rosario orovero explained: 'at present, this measurement task is realized through the single function of optics - automatic focusing, point acquisition and surface calculation, which takes about two minutes. However, on scopecheck, we use laser measurement, which can be completed in only 40 seconds.' It can not show great effect when measuring a single part. However, when people want to verify the process by measuring more than 50 parts, it can really save a lot of time. For orovero's team, multi-sensor function is important. Because all the measurement tasks of new products are completed on this equipment. Tosario orovero said that in R & D, time is precious. 'The product must enter mass production as soon as possible in order to take the lead in the market. Using the compound measuring machine scopecheck, we can complete the measurement of the whole part in one clamping, which can not be completed before. In turn, this can save time, cost and bring the information we need to control production.' Metrologists combine modern detection methods to capture the geometric characteristics of parts, and control the automatic measurement program through winwerth software. The repeatability and reproducibility of the measurement results are very good. 'Through the concept of multi-sensor, we can combine all measurements for one or more parts and operate them through only one button. Control and input errors rarely occur.' This makes the metrologists happy. Document storage is also much easier than before. One of the highlights is that an interface is installed for Weidmuller's measuring machine, and the measurement results can be directly output to SAP system without loss. In order to reproduce the measurement quality of oroveros in the measuring room in the production workshop, more Werth measuring machines will be placed next to the bending machine and injection molding machine in the future. The goal is to replace the current manual self-test with automatic machine self-test. Therefore, the quality monitoring station not only puts new products into mass production, but also brings the whole measurement concept. 'Colleagues in the production workshop will get a USB flash disk with measurement program and the fixture completed by us. They only need to complete a small amount of debugging on site, and then they can make the program run 1:1 automatically.' Workers are different from metrological personnel. They are only proficient in their own processing technology. Through the measurement procedure completed in advance, the measurement position and measurement method are unified to ensure the repeatability and reliability of the measurement results. Based on this method, workers get the green light to continue production faster than before. Although the final step in production has not been completed, Olaf despang and Rosario orovero believe that, The right path has been opened: 'scopecheck measuring machine is suitable for our project, and the cooperation with Werth has developed into a real partnership. The after-sales service is great. We firmly believe that we will explore more measurement technology solutions focusing on the future together.'


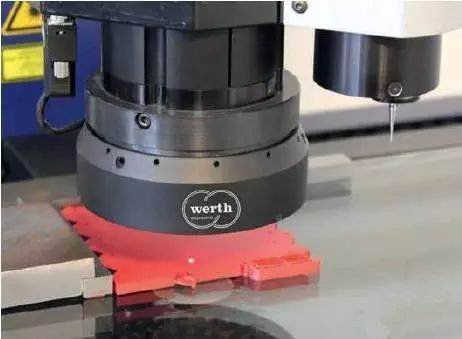
Picture: measure the flatness of plastic plate. Using the laser sensor of compound CMM, the detection time is shortened by two thirds

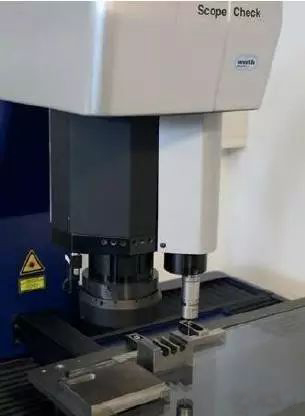
Picture: parts must be fixed during contact measurement to avoid
displacement due to contact. The fixture will also be applied in mass
production.